Kubernetes 效能監控利器-Promethus 簡介
Kubernetes 效能監控利器-Promethus 簡介
| 簡介 |
Prometheus 介紹,以及安裝與設定 |
| 作者 |
石偉琪 |
Prometheus 是由 SoundCloud 建立,用來做為監控與告警的 open-source 系統。Prometheus 於 2016 年成為第二個加入CNCF的專案(第一個則是 Kubernetes)
Prometheus 具有以下的特點:
- 多維度的資料模型:透過 metrics 名稱 與 key / value 來區分的時間序列資料
- 靈活的查詢語言(PromQL)
- 不依賴分散式儲存設備,每台主機都是獨立自主的
- 時間序列資料是由 Prometheus server 發起,經由 http 將 metrics 資料,由設定的主機上取回(這點正好與 zabbix 相反)
- 支持多重的儀表板
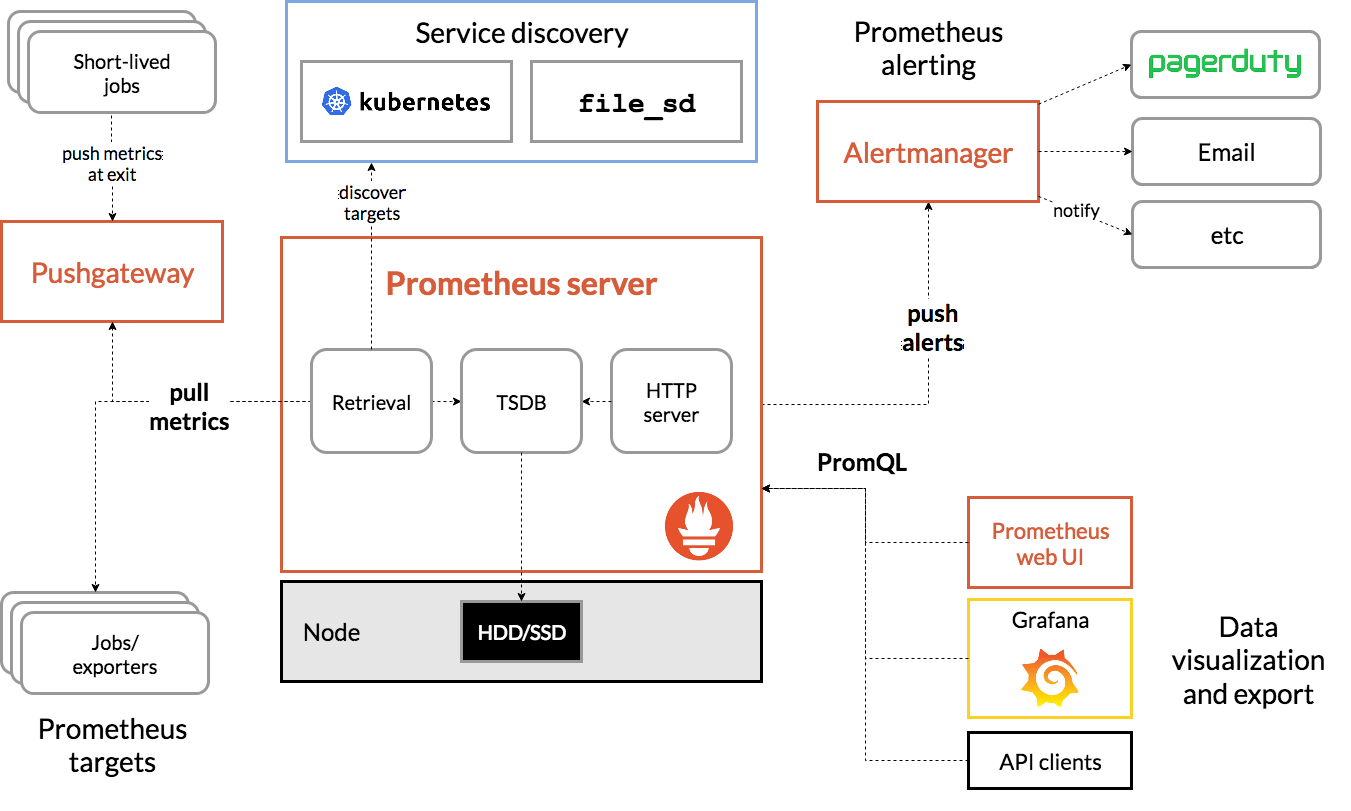
- Prometheus server :裡面包含了用來收集時間序列資料的 TSDB,以及 HTTP server
- Jobs / exporters :像是本文後面會提到的 node exporter,這些 exporter 是用來產生 metrics data 給 Prometheus server ,做為收集、監測使用
- Alert manager :當到達某些事先設定的監控條件時,用來發出告警,通知相關管理員的元件
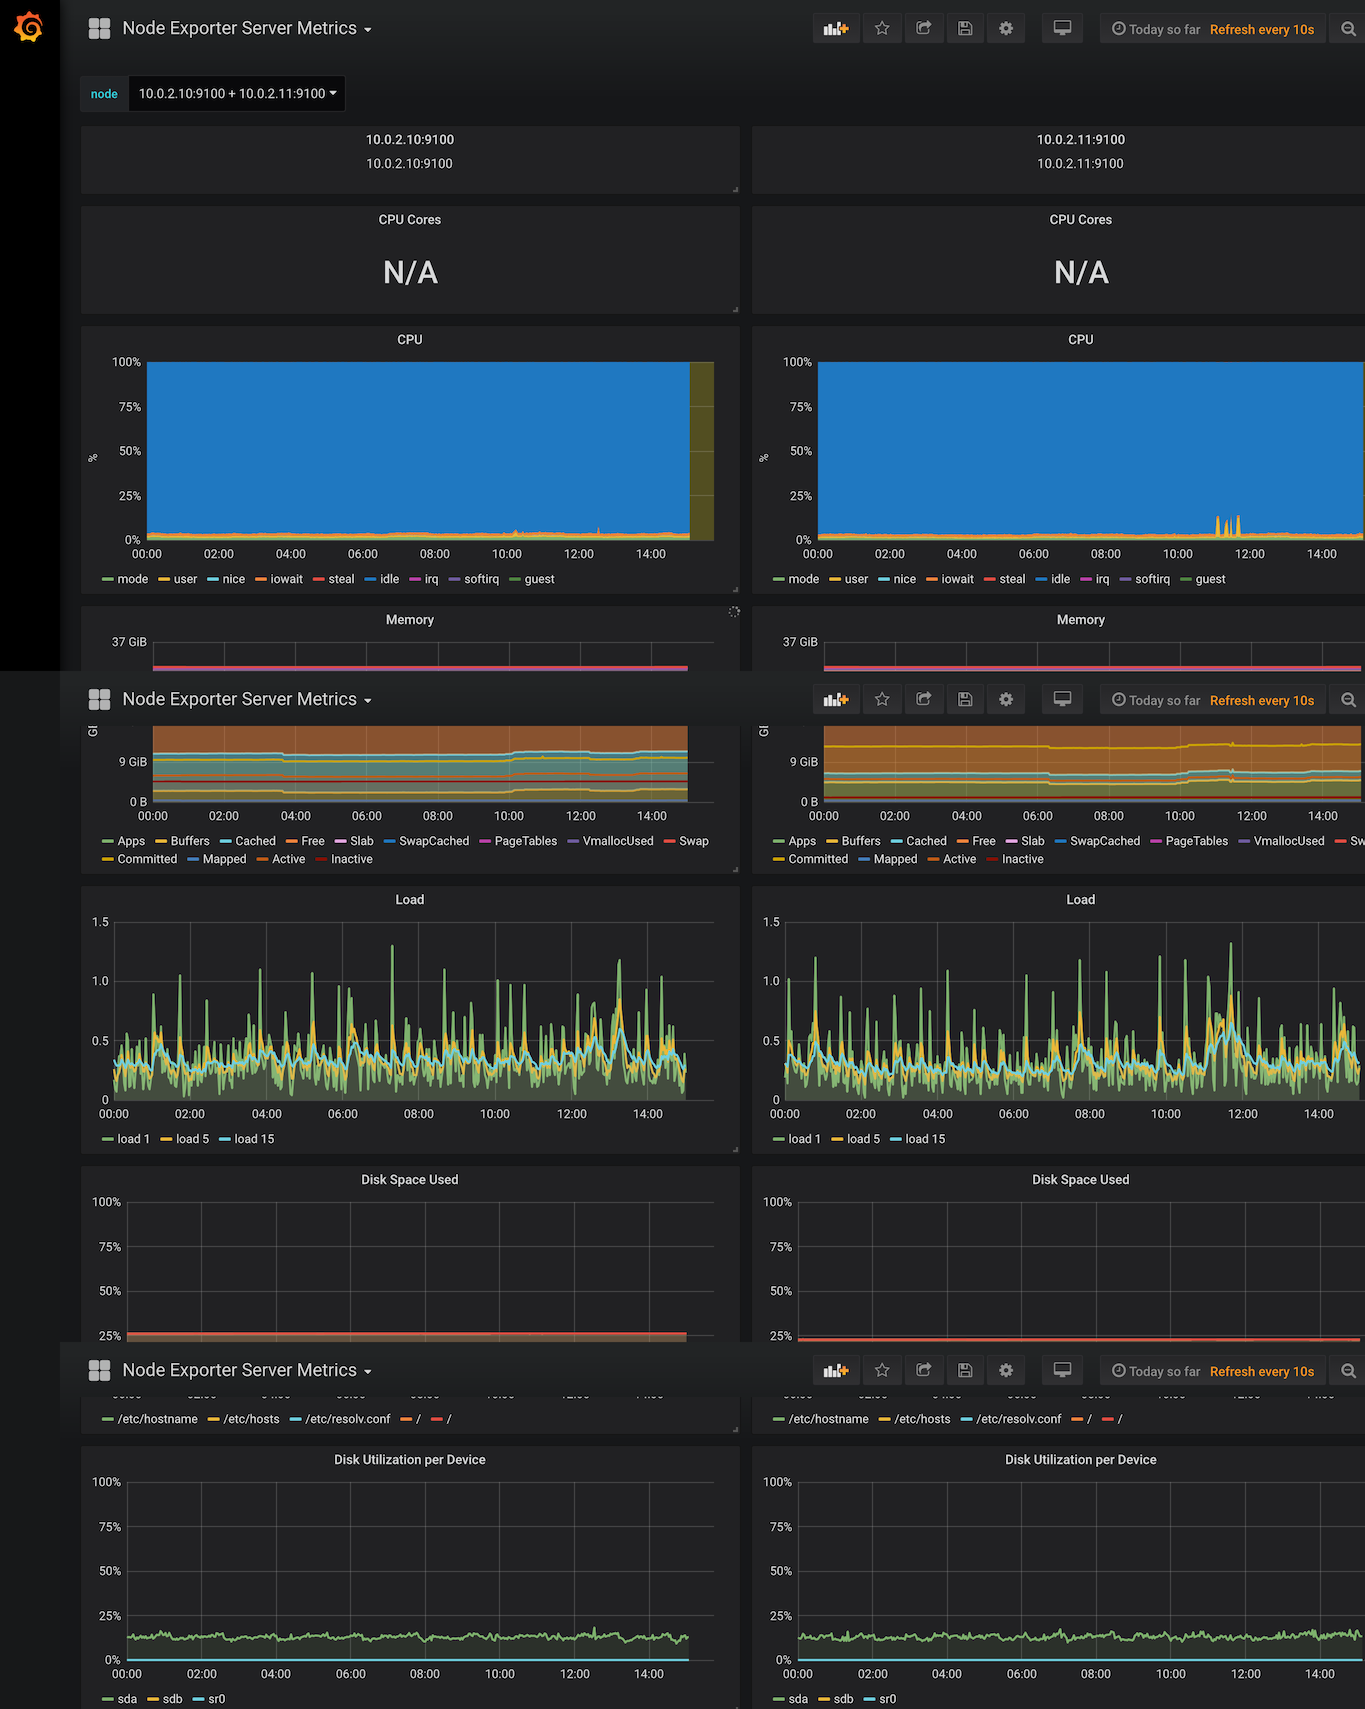
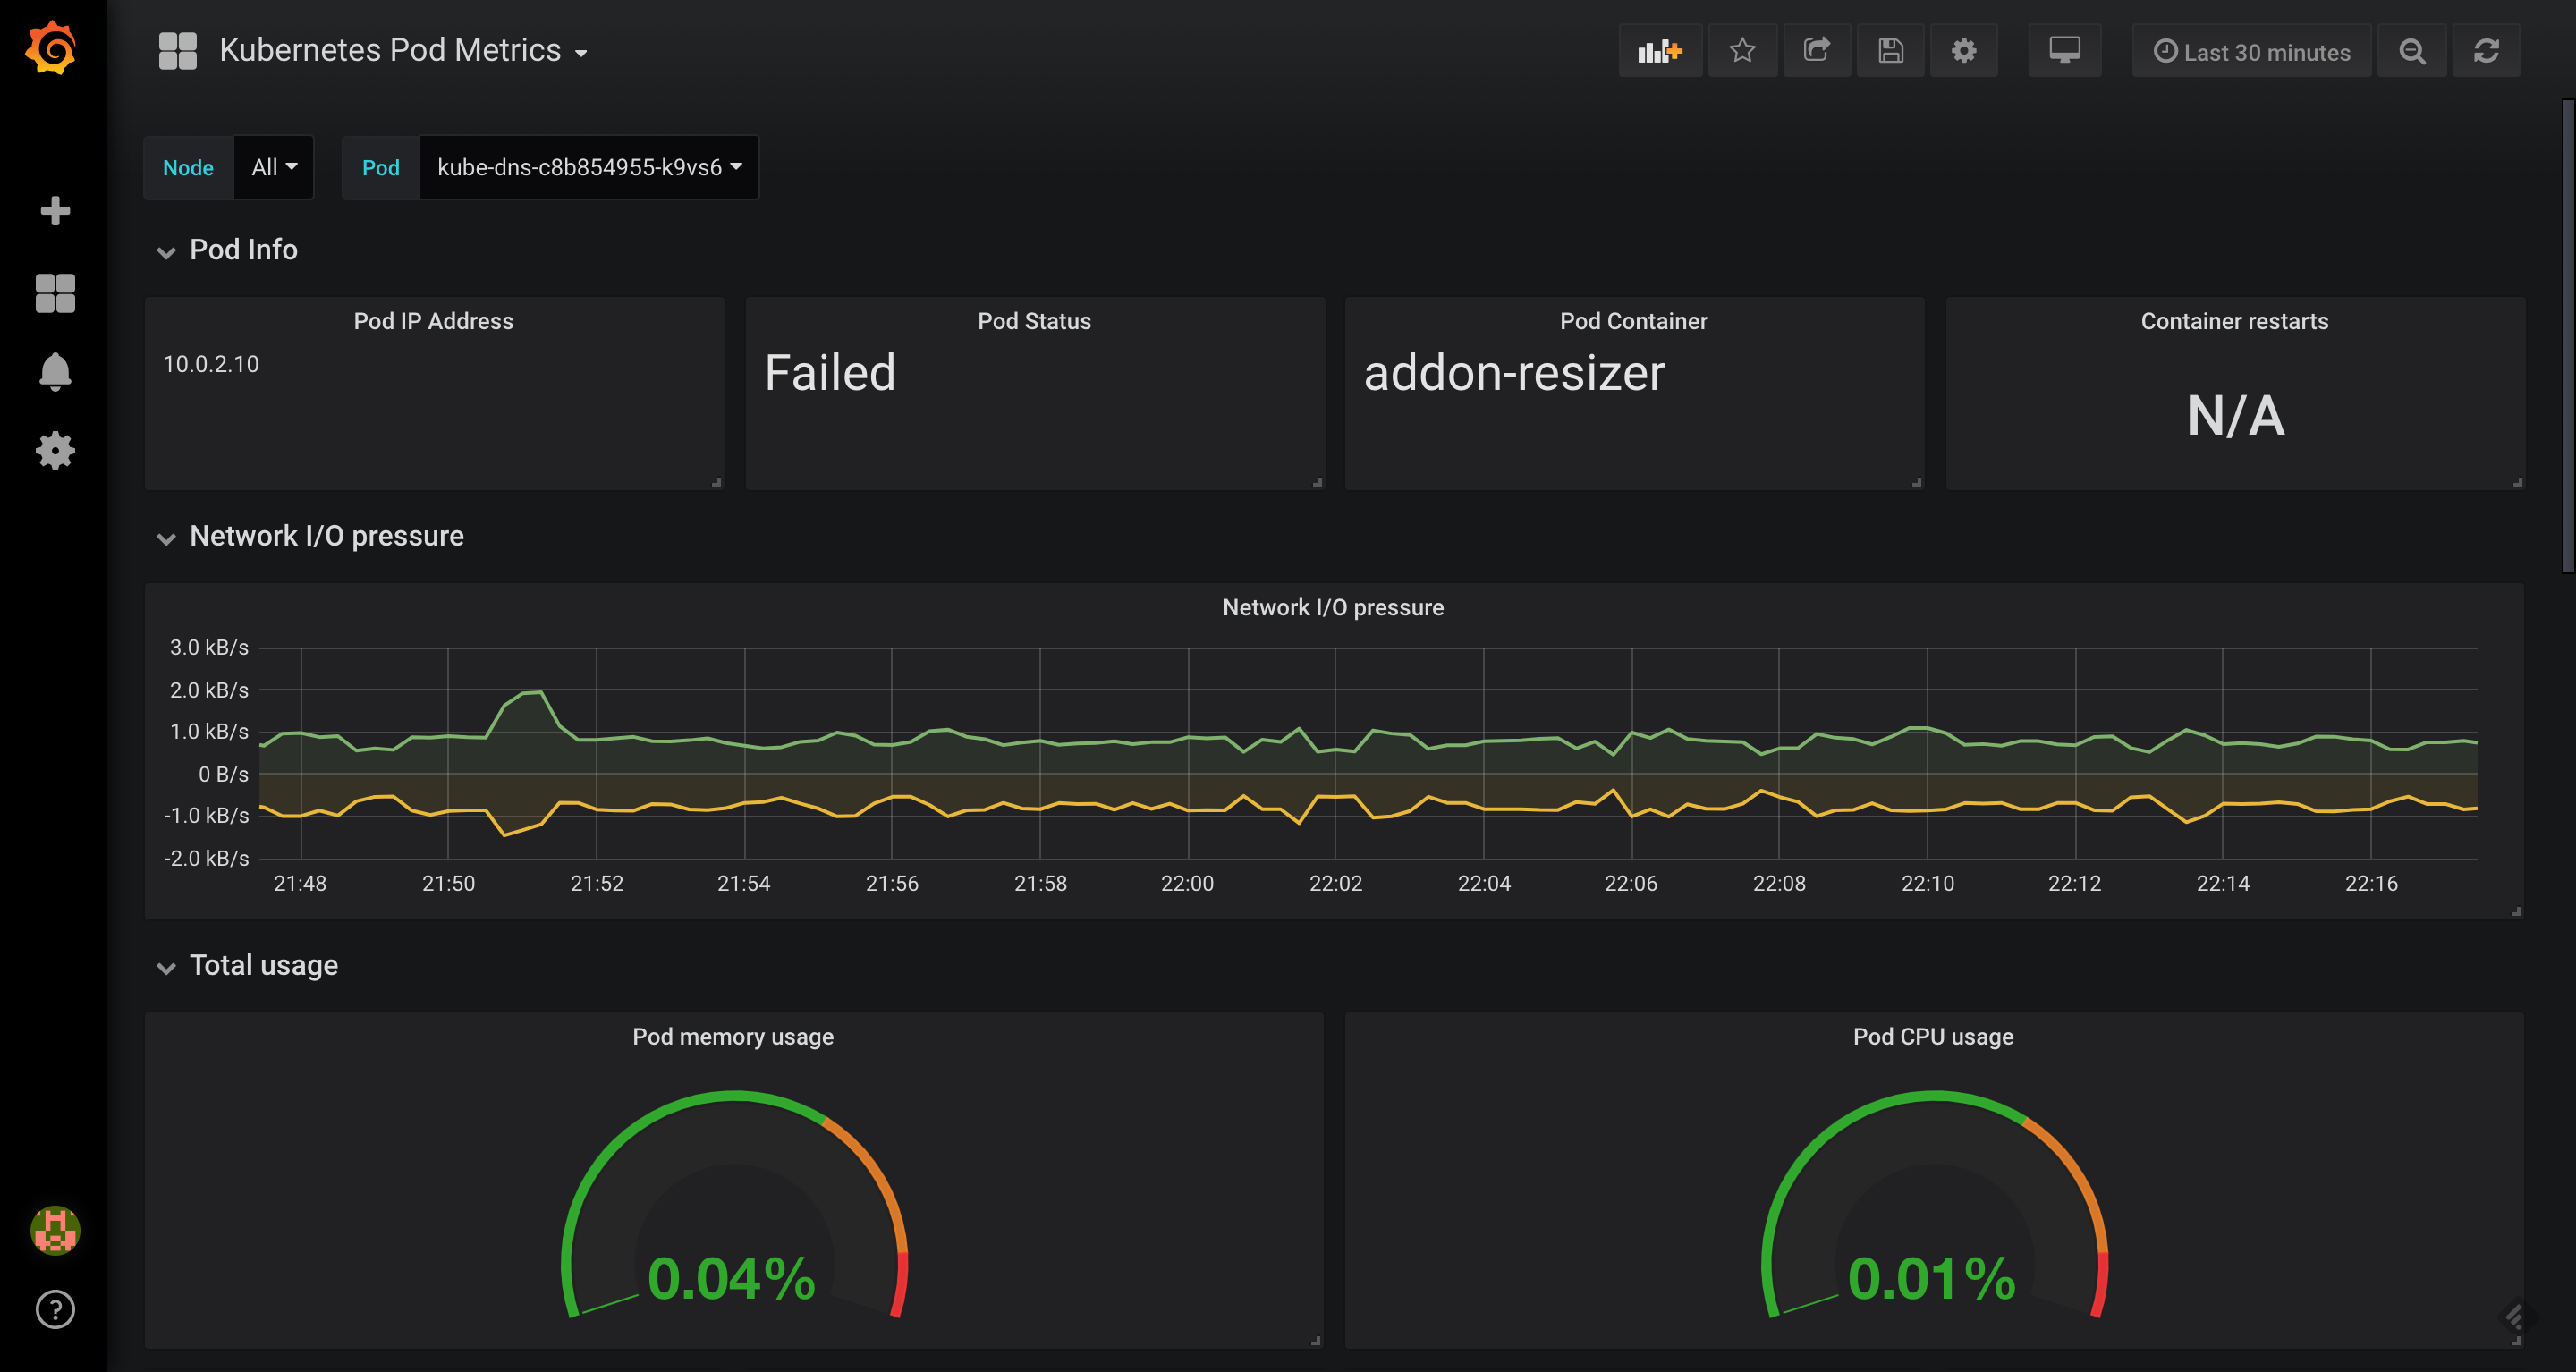
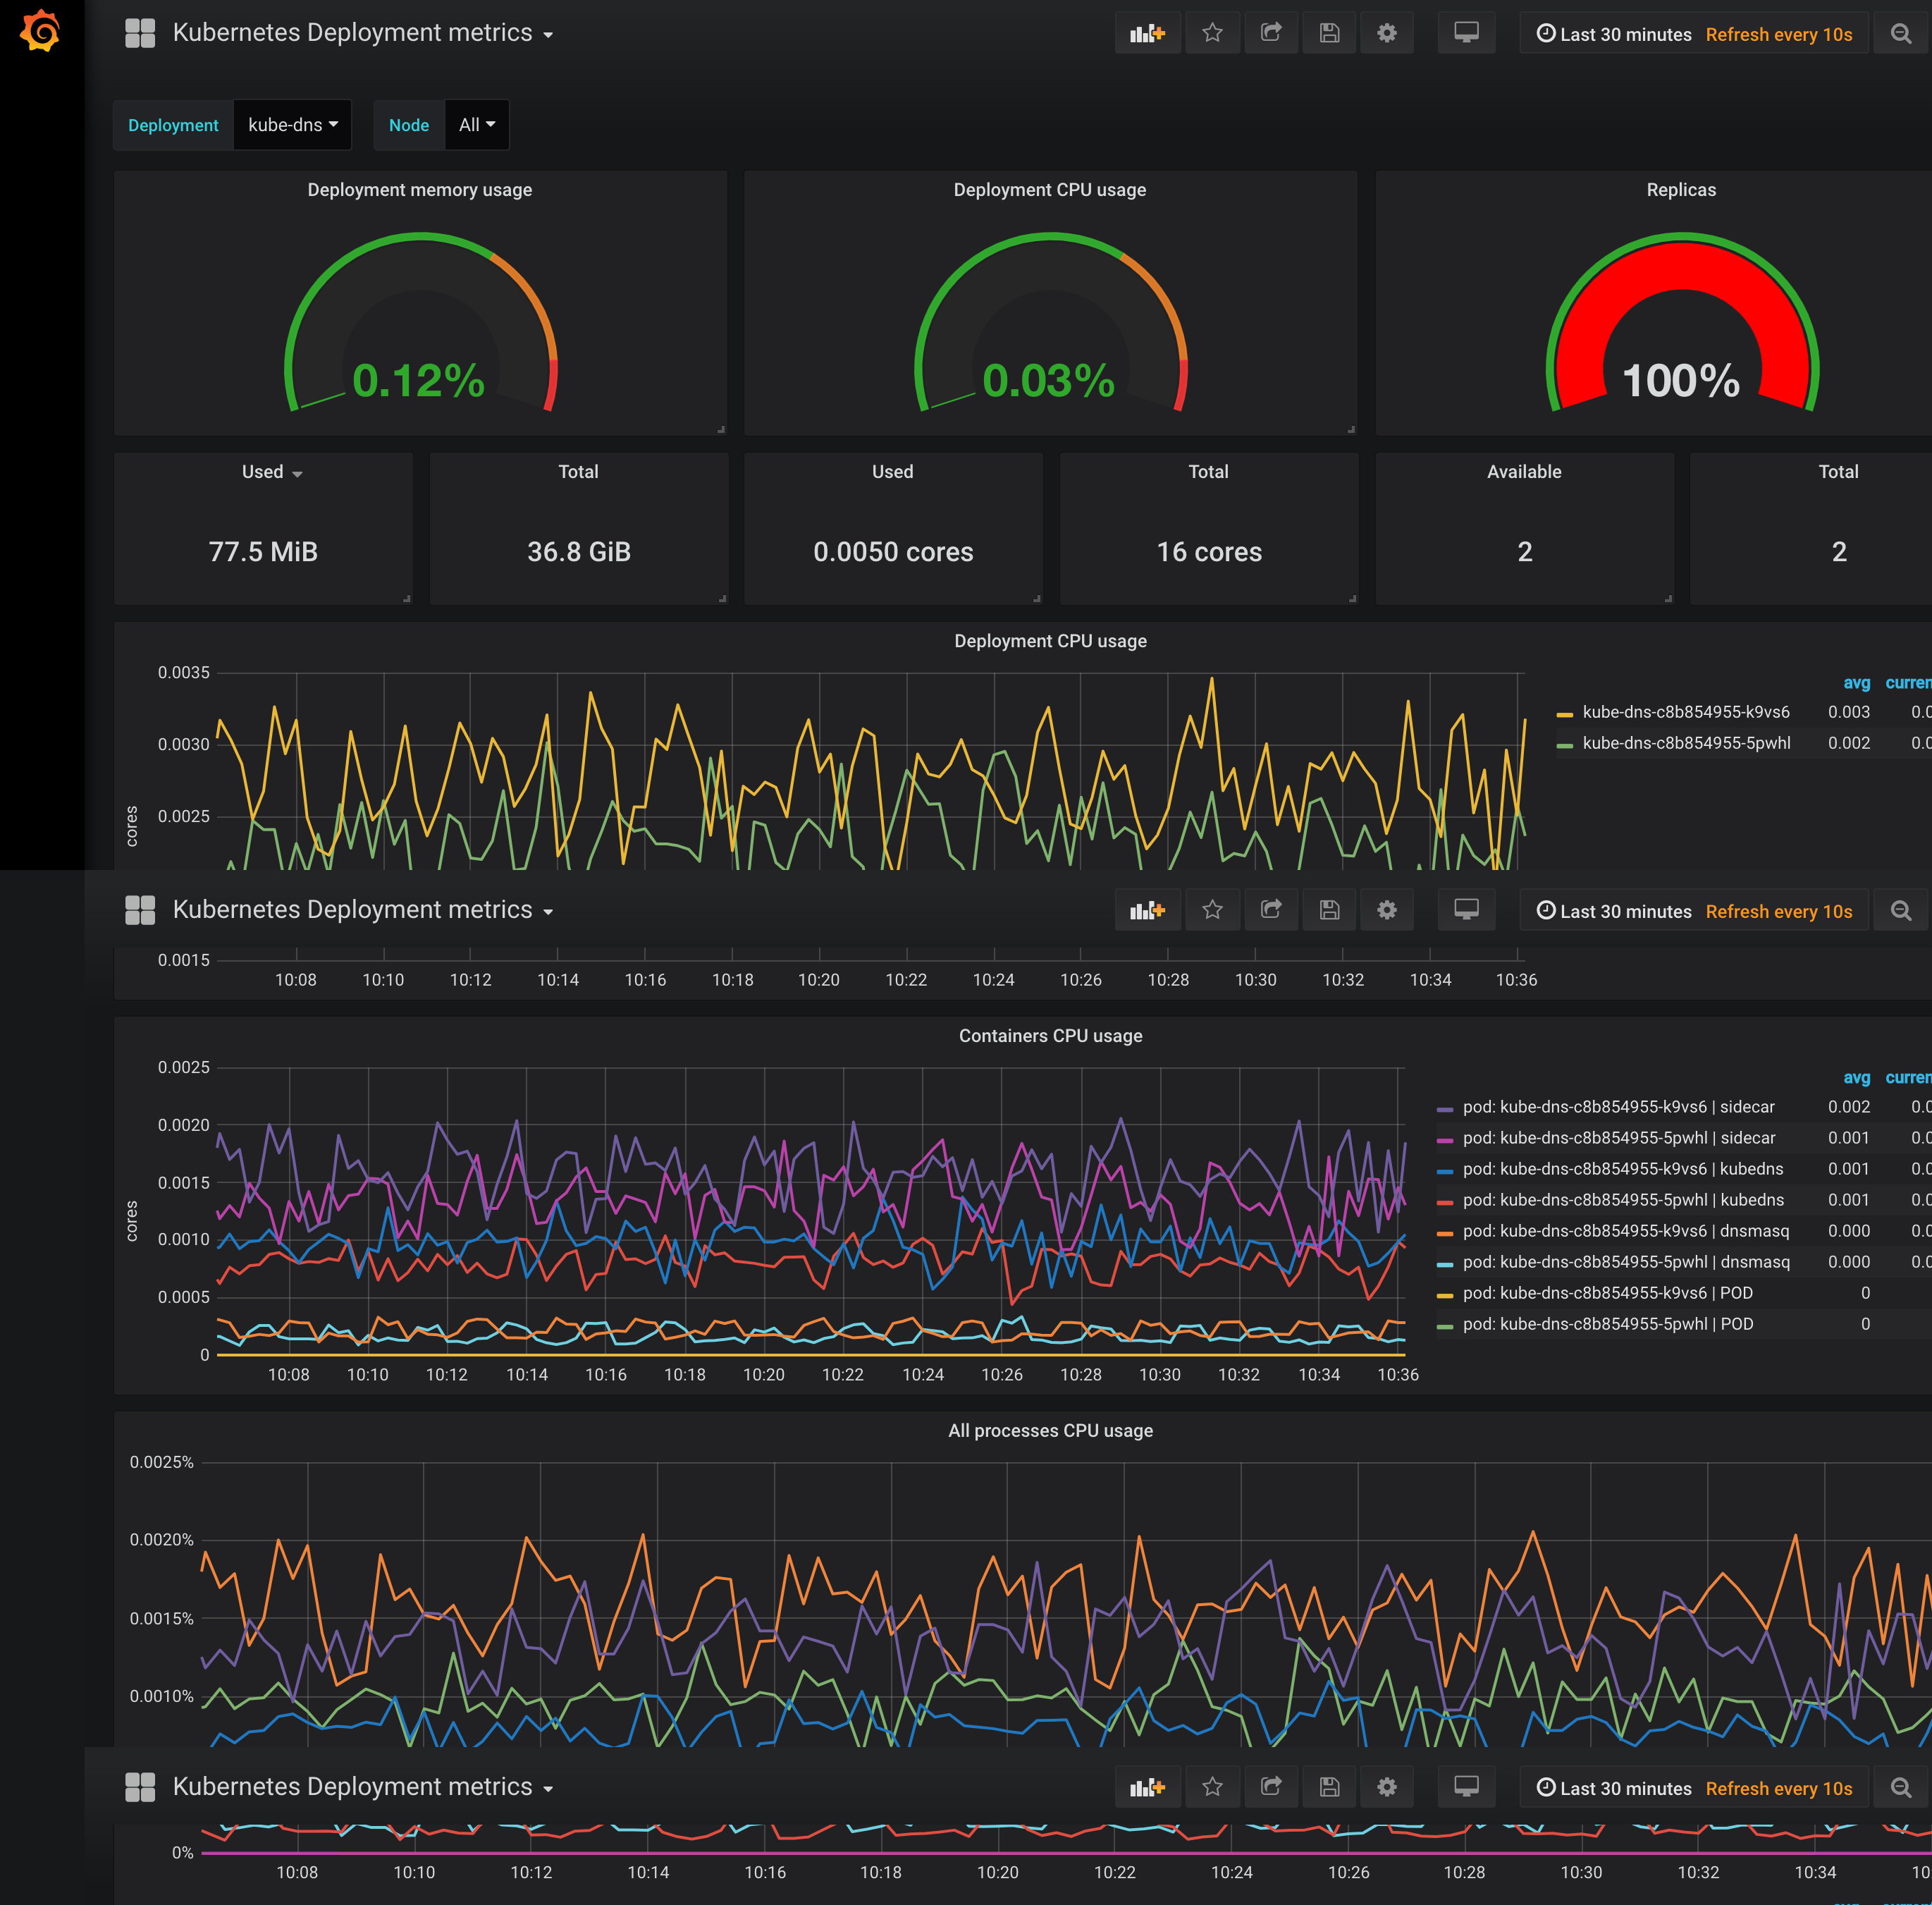
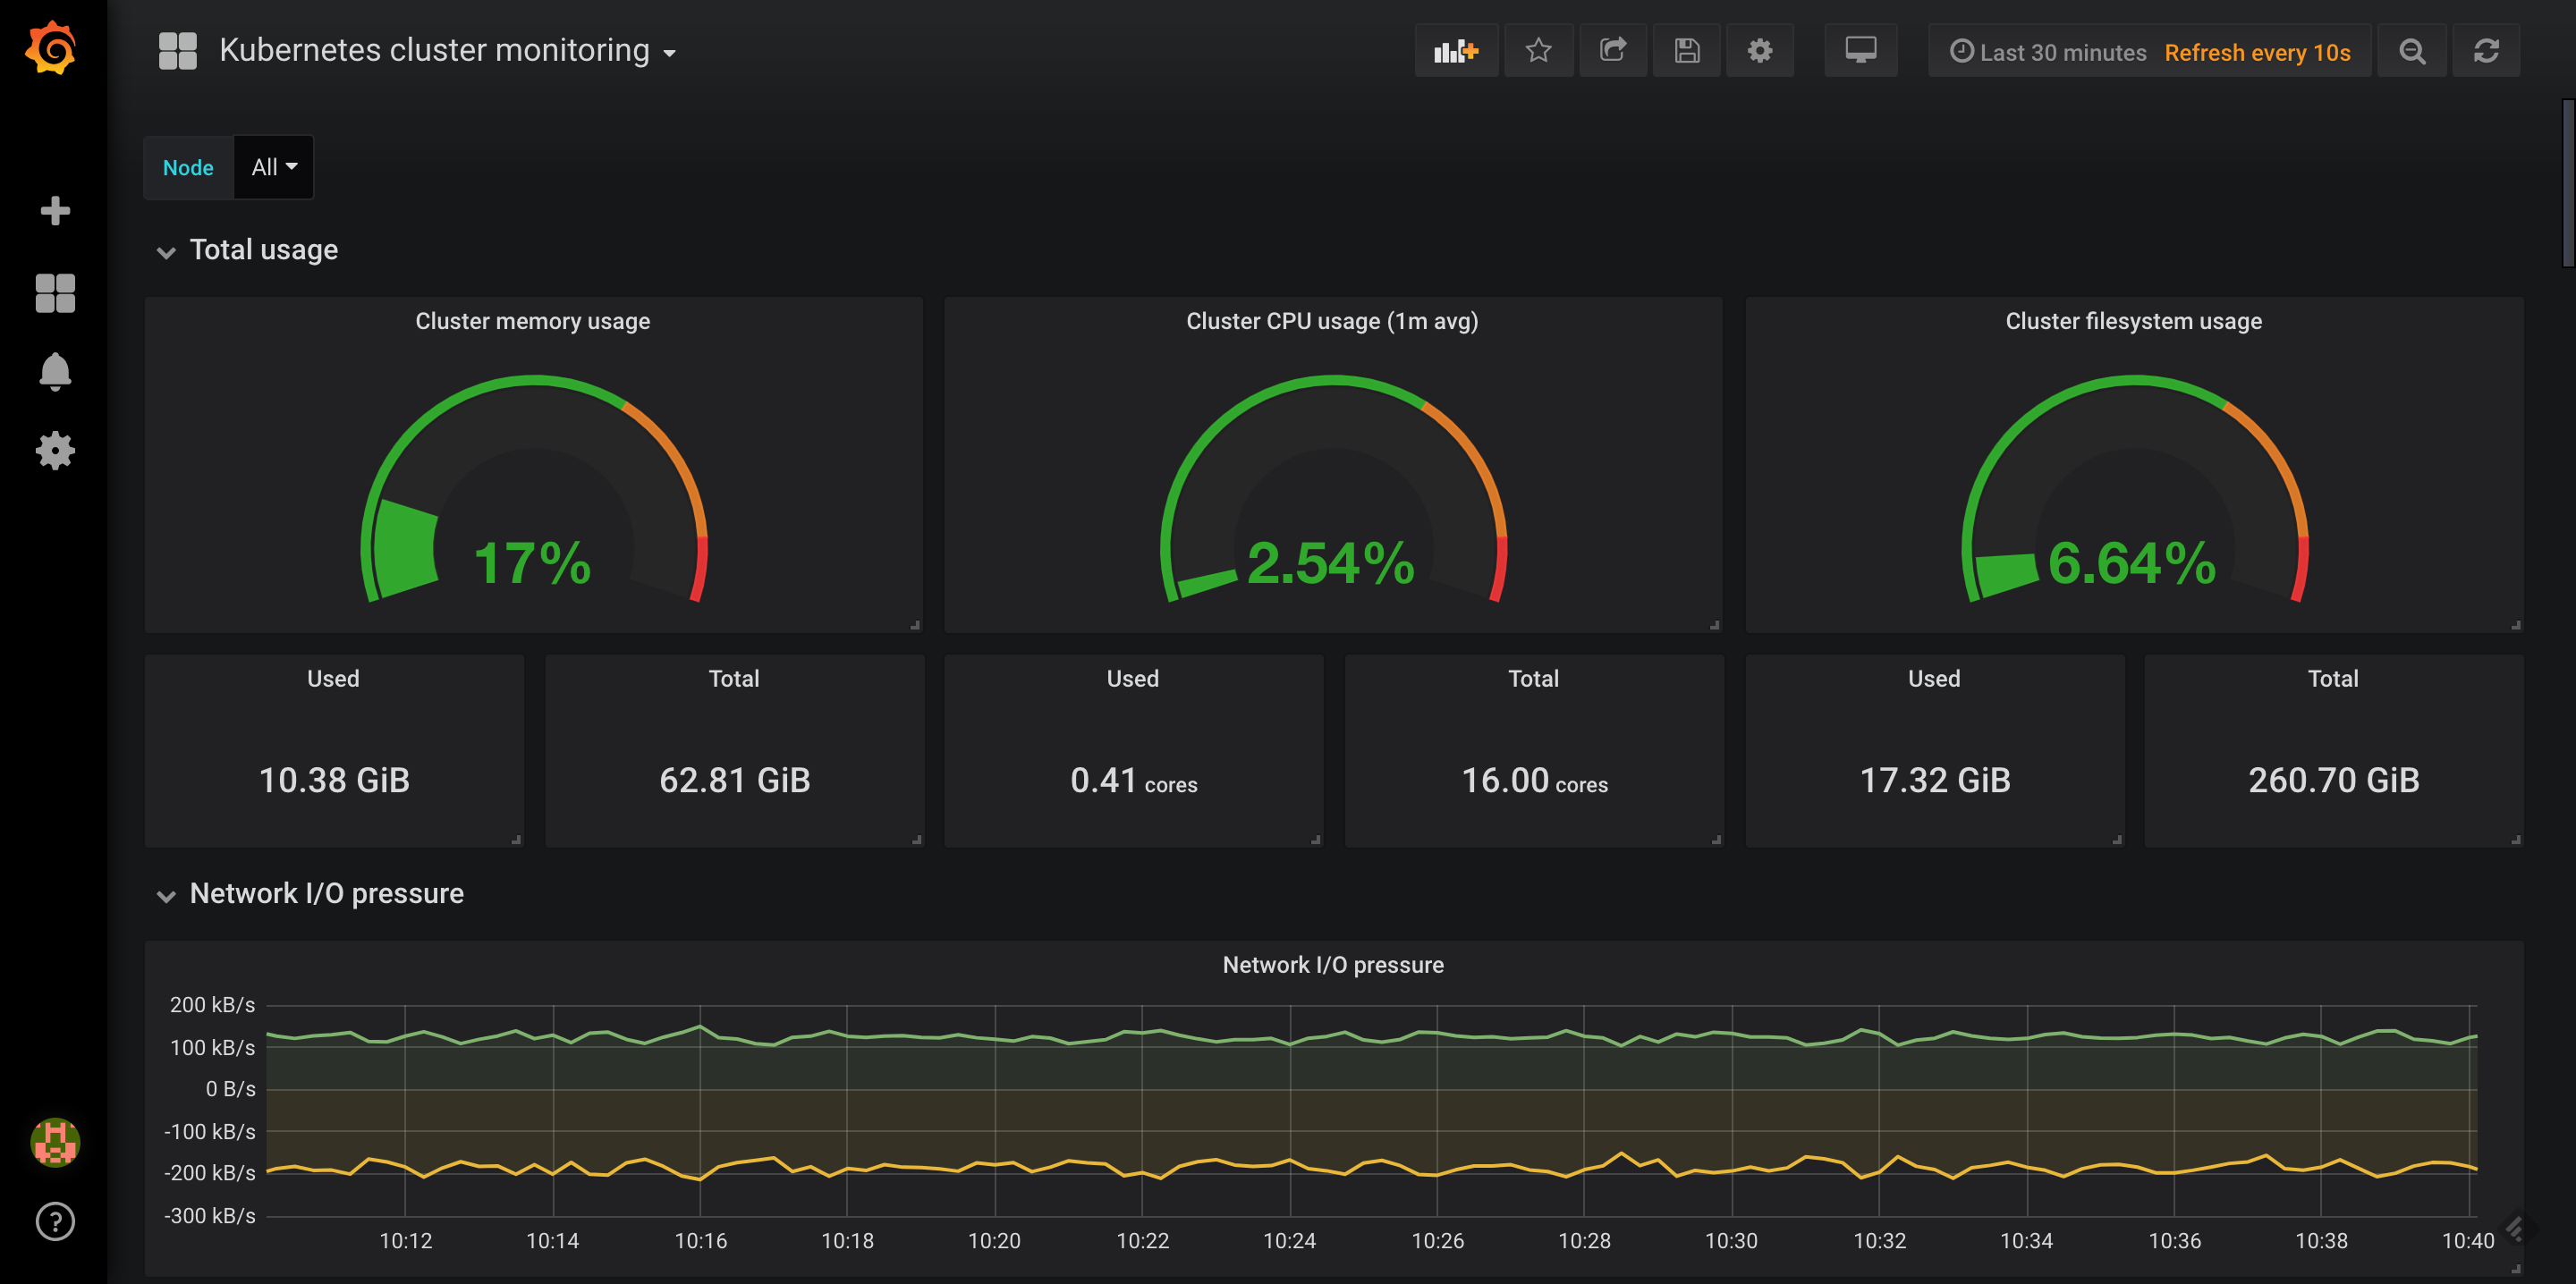
- Grafana:用來呈現收集到的 metrics data 用,透過 web browser 即可觀看
| Hostname | OS | IP | 說明 |
|---|---|---|---|
| ai-01 | Red Hat 7.6 | 10.0.2.10 | k8s master 兼 worker node |
| ai-02 | Red Hat 7.6 | 10.0.2.11 | k8s backup master 兼 worker node |
| ai-etcd | Red Hat 7.6 | 10.0.2.12 | Prometheus server 兼 Grafana server .Prometheus: 2.5.0 .Grafana: 5.2.2 |
首先,從 Prometheus 官網上 ( https://prometheus.io/download/ ) 下載檔案:本文內準備的環境是 Red Hat 7.6, 故下載 prometheus-2.5.0.linux-amd64.tar.gz
2) 將下載回來的檔案,在主機上合適的目錄下解開,例:/opt/prometheus-2.5.0
3) 解開後,可以拿目錄裡的 prometheus.yml 來加以修改,這個稍候等到 client 端上 node exporter 這些都安裝好了之後,再回過頭來設定 prometheus server
4) 接下來就是在 k8s cluster 內,安裝並設定 node exporter。直接在 ai-01 / ai-02 上,下載 node exporter image ,下載的指令為 docker pull prom/node-exporter:v0.14.0
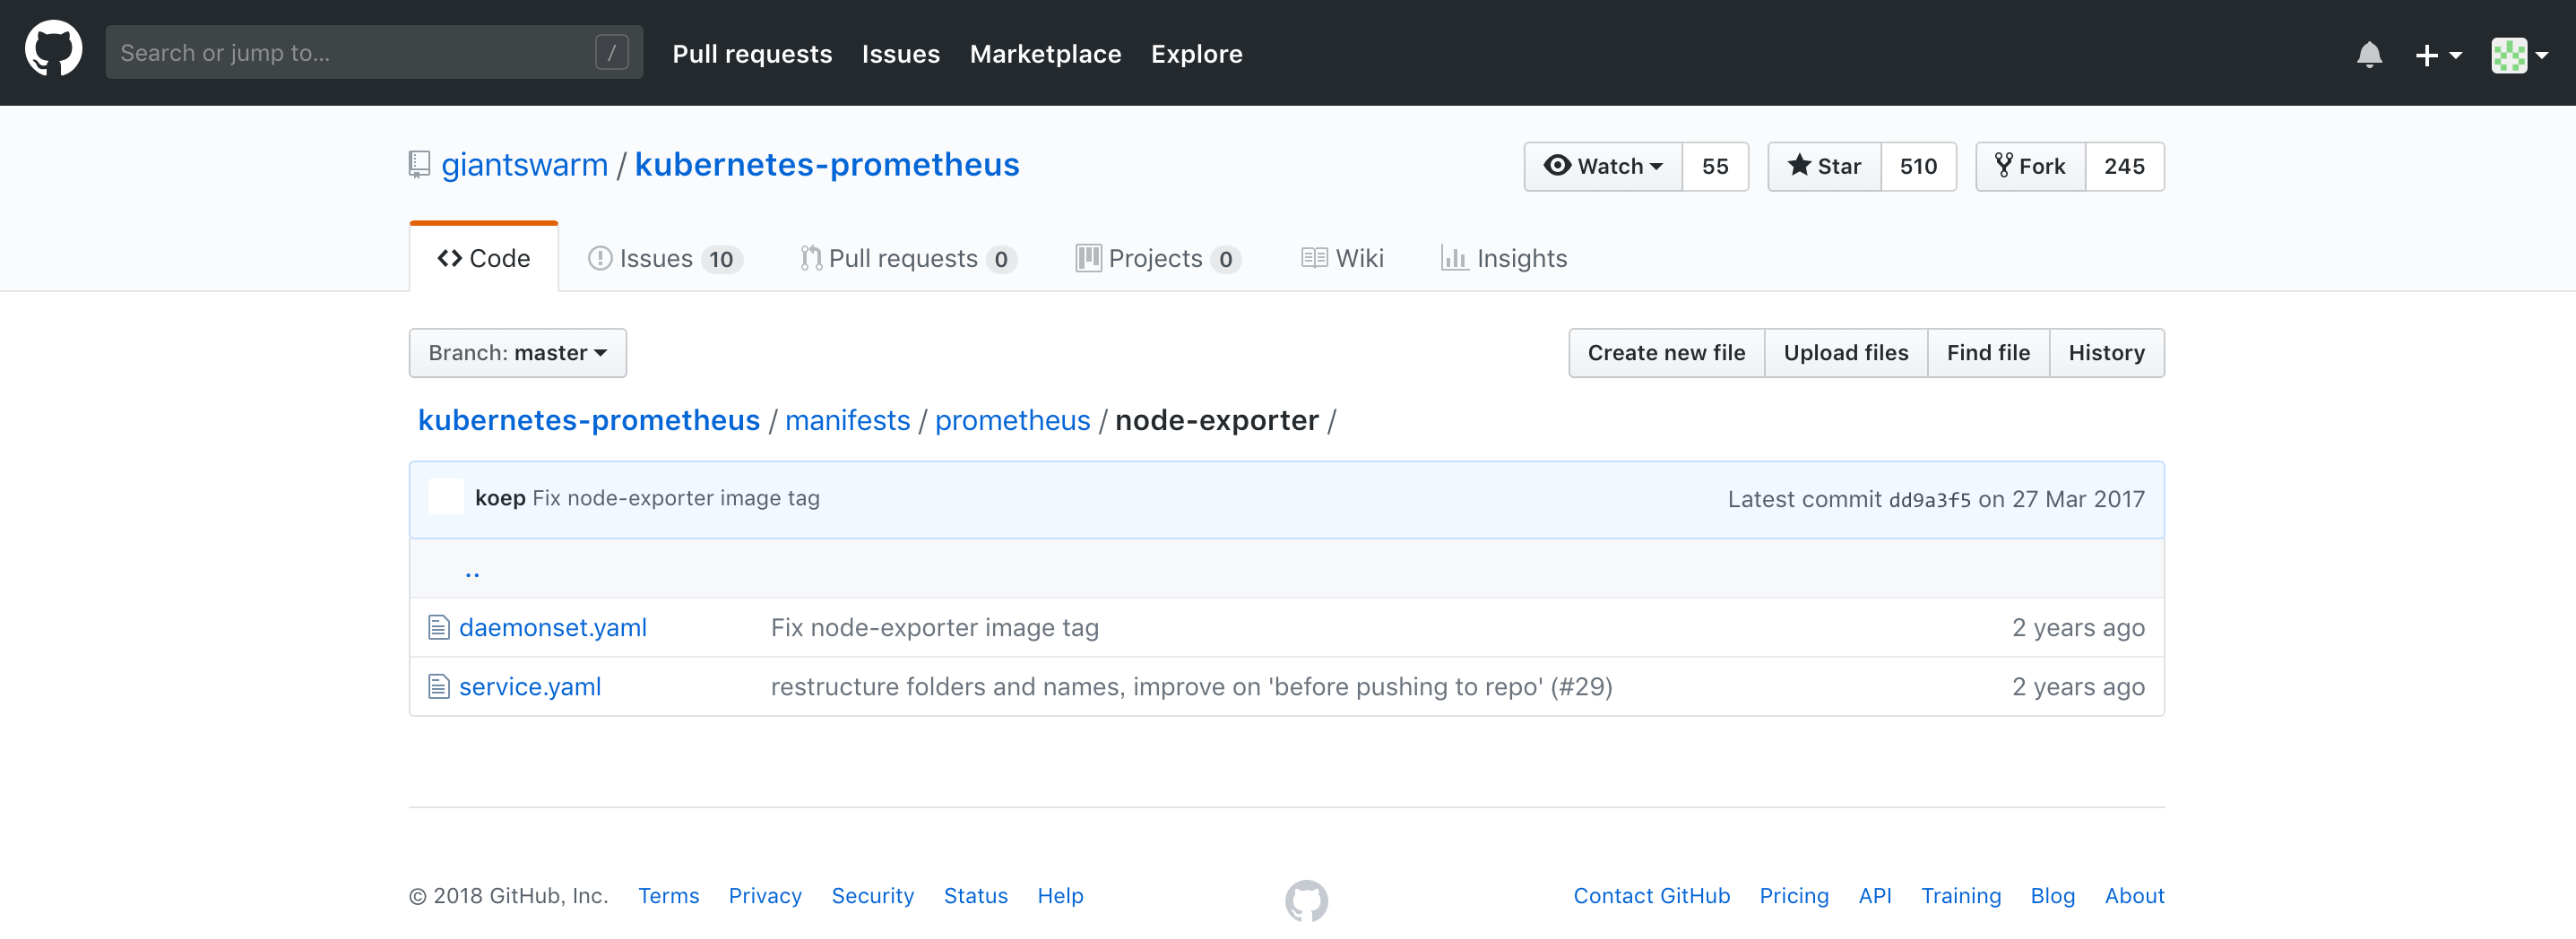
5) 然後,到以下的網頁下載 daemonset.yaml 以及 service.yaml 這兩個檔案
kubectl create -f daemonset.yaml
kubectl create -f service.yaml
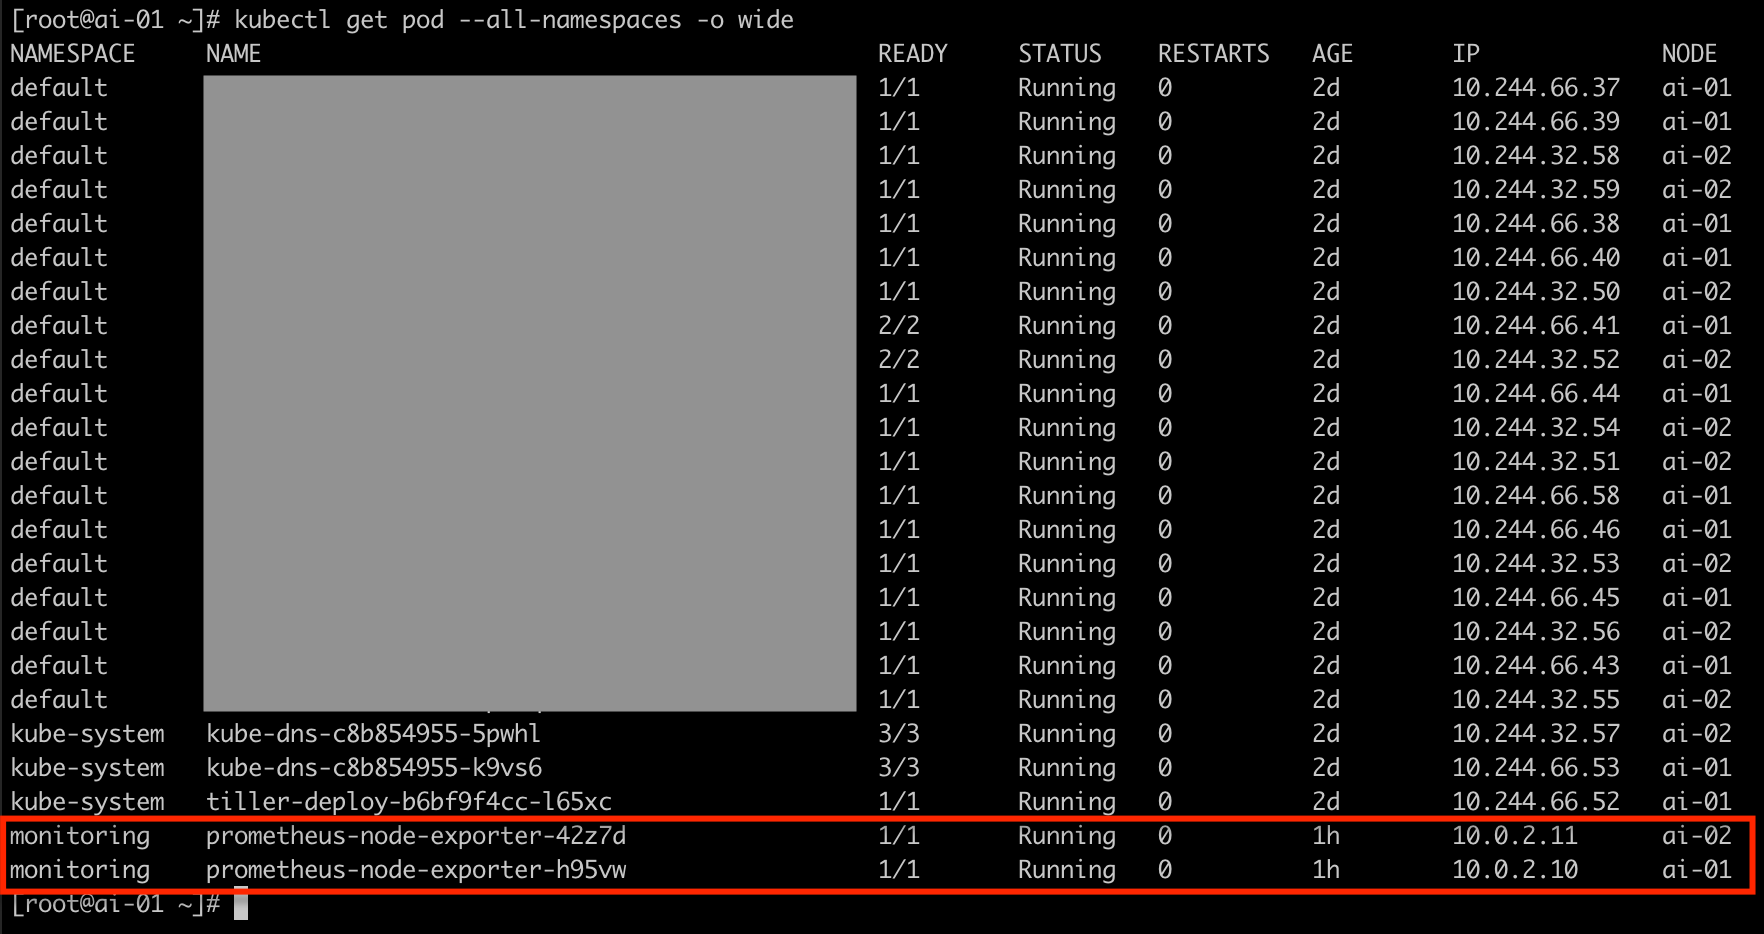
設定好了之後,就會看到多了 node exporter 的 pod 出現了(因為本文使用的 lab 為 2 個 worker nodes,所以會出現兩個 node exporter pod)
[root@ai-etcd data]# cat /etc/prometheus.yml
# my global config
global:
scrape_interval: 15s # Set the scrape interval to every 15 seconds. Default is every 1 minute.
evaluation_interval: 15s # Evaluate rules every 15 seconds. The default is every 1 minute.
# scrape_timeout is set to the global default (10s).
# Alertmanager configuration
#alerting:
# alertmanagers: <— alter manager 的設定檔,之後用有到時再來設定
# - static_configs:
# - targets:
# - alertmanager:9093
# Load rules once and periodically evaluate them according to the global 'evaluation_interval'.
rule_files:
# - "first_rules.yml"
# - "second_rules.yml"
# A scrape configuration containing exactly one endpoint to scrape:
# Here it's Prometheus itself.
scrape_configs:
# The job name is added as a label `job=<job_name>` to any timeseries scraped from this config.
- job_name: 'prometheus'
# metrics_path defaults to '/metrics'
# scheme defaults to 'http'.
static_configs:
- targets: ['localhost:9090'] <— Prometheus 使用 9090 port
## node_exporter of ai-01 <— node exporter 的設定,每個 node 有獨立的設定
- job_name: 'node_exporter_ai-01'
static_configs:
- targets: ['10.0.2.10:9100'] <— node exporter 用的 port 是 9100
## node_exporter of ai-02
- job_name: 'node_exporter_ai-02'
static_configs:
- targets: ['10.0.2.11:9100']
設定完畢後,存檔離開
8) 測試 Prometheus 是否能正確地啟動
手動執行以下的指令將 Prometheus 帶起來
# /opt/prometheus-2.5.0/prometheus --config.file=/etc/prometheus.yml --storage.tsdb.path=/data --storage.tsdb.retention=30d
其中:
--config.file=/etc/prometheus.yml : 設定檔是 /etc/prometheus.yml(格式為 yaml)
--storage.tsdb.path=/data :資料要儲存在哪個路徑之下
--storage.tsdb.retention=30d :資料要儲存多久,此範例為 30 天(30d)
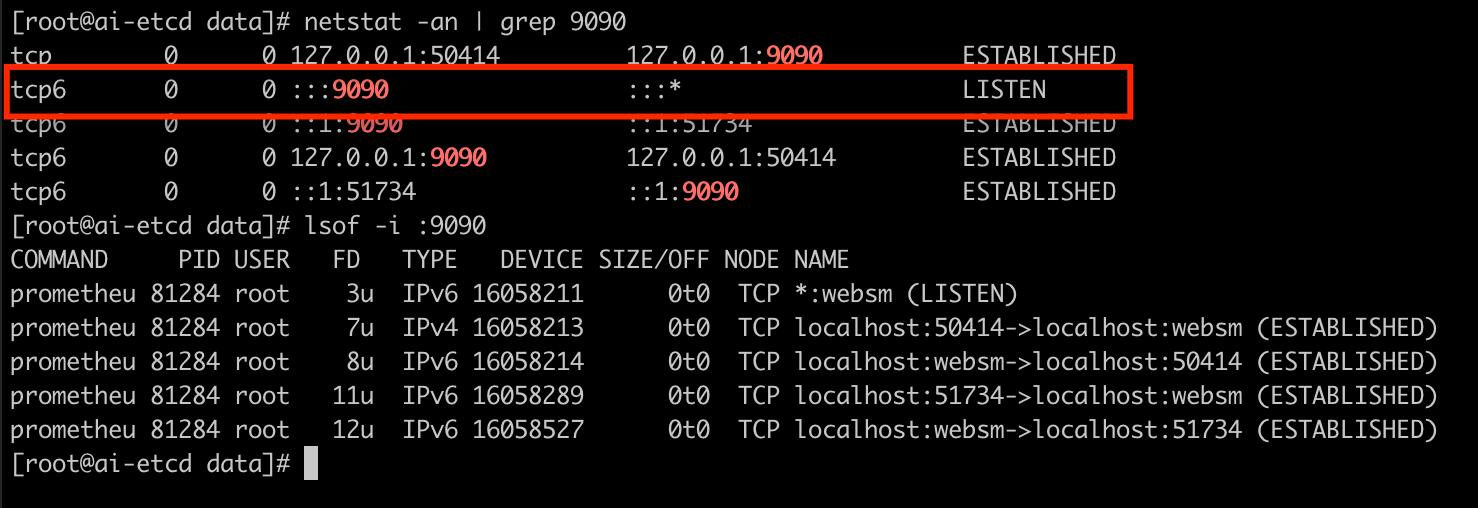
再以 ps -ef | grep $PID ($PID 可由上圖看到是 81284) 來檢查


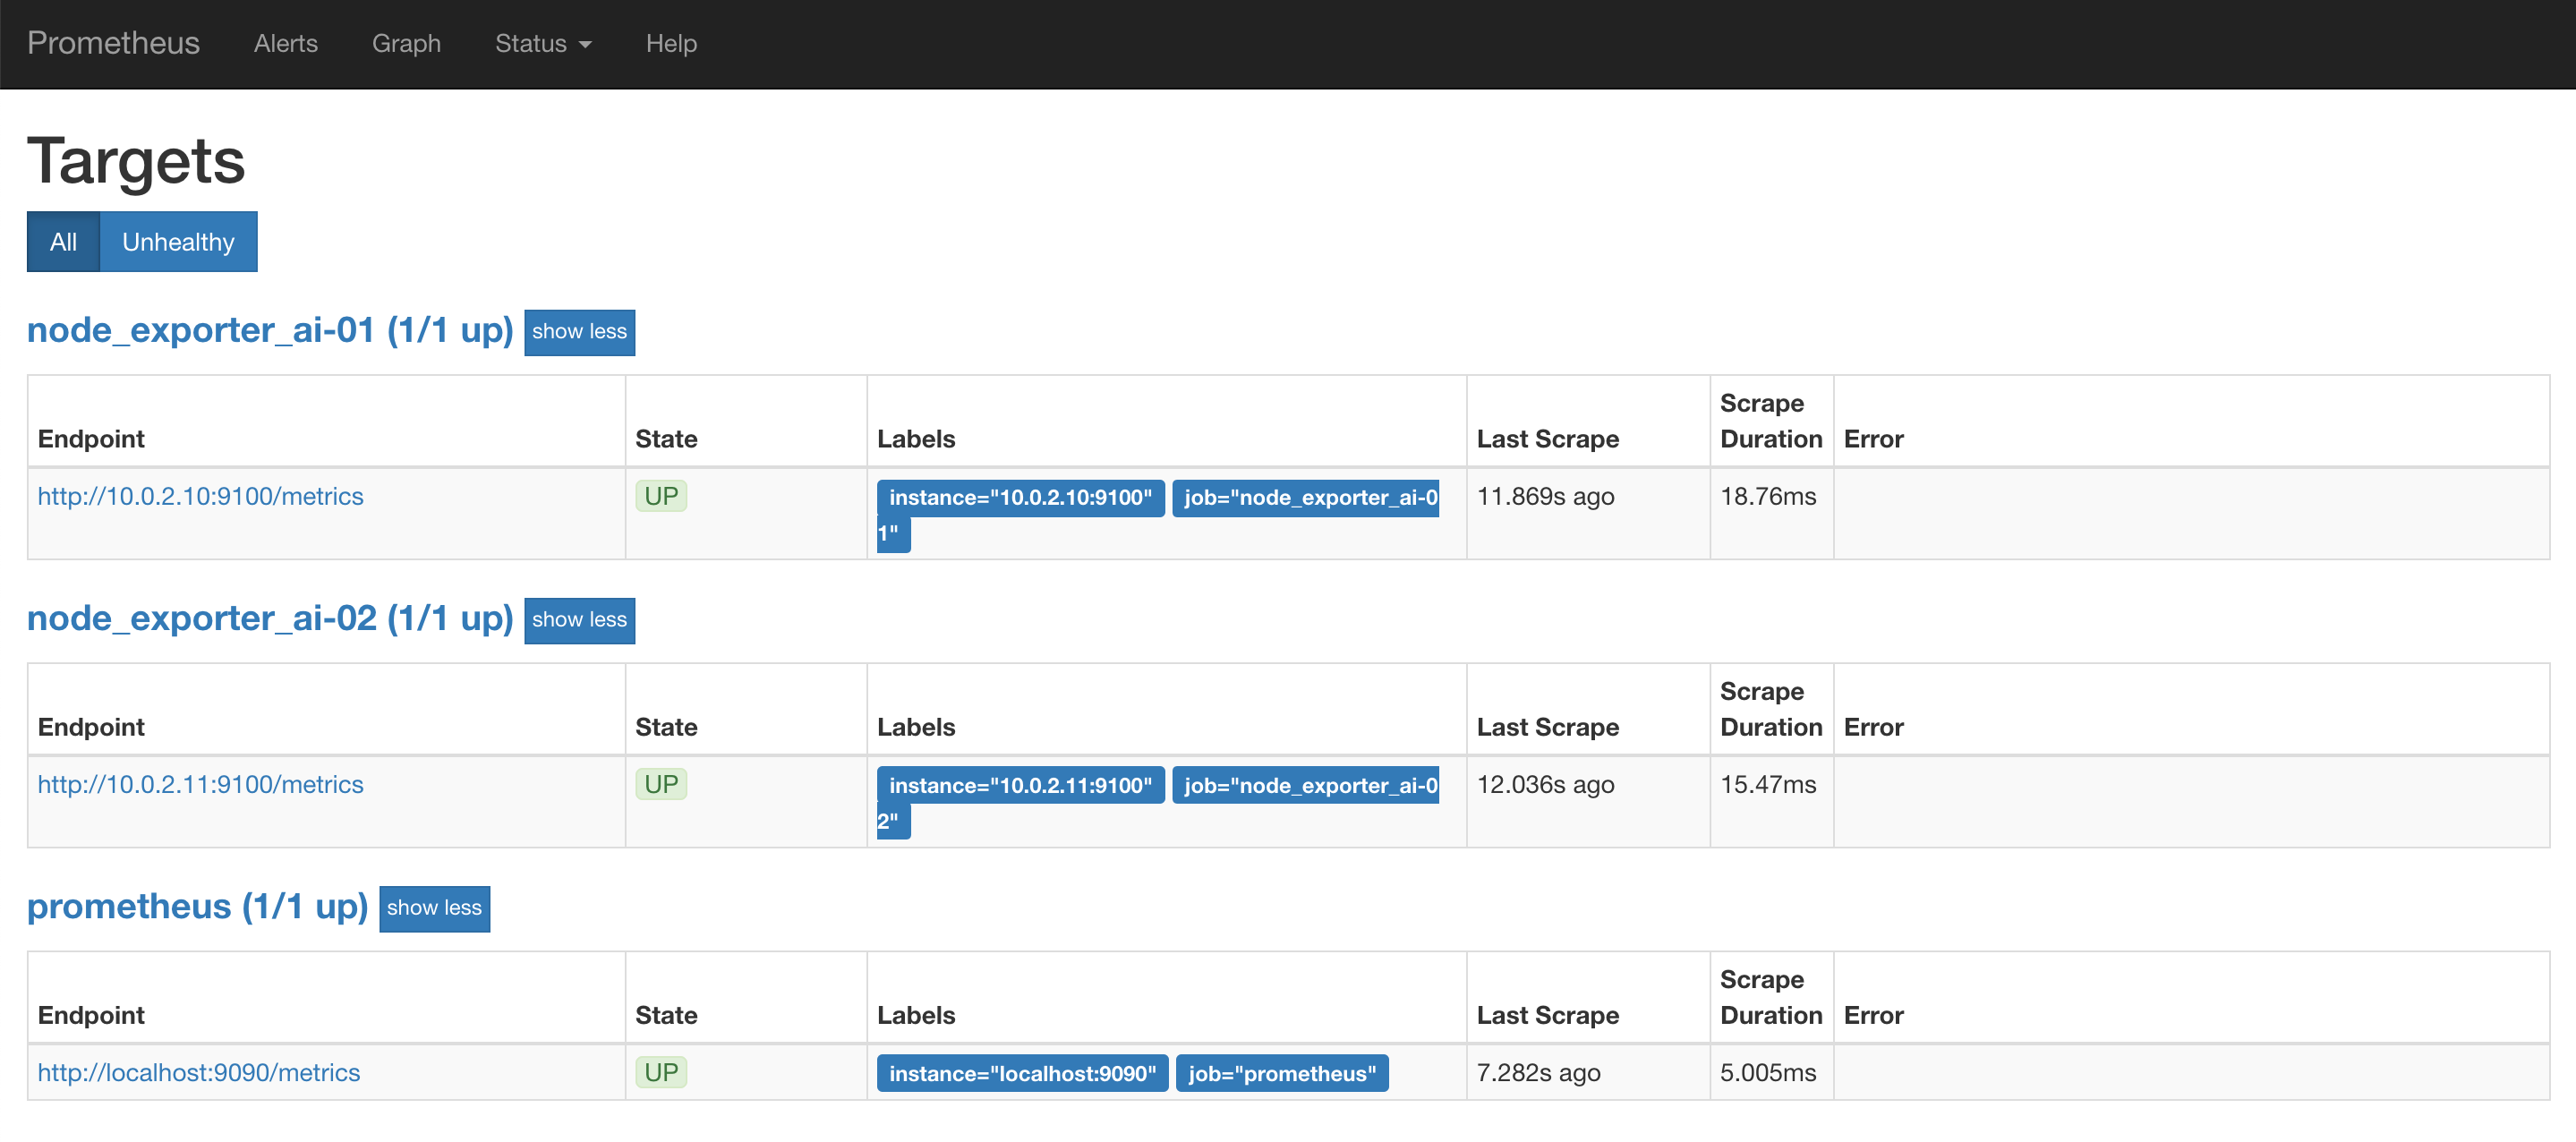
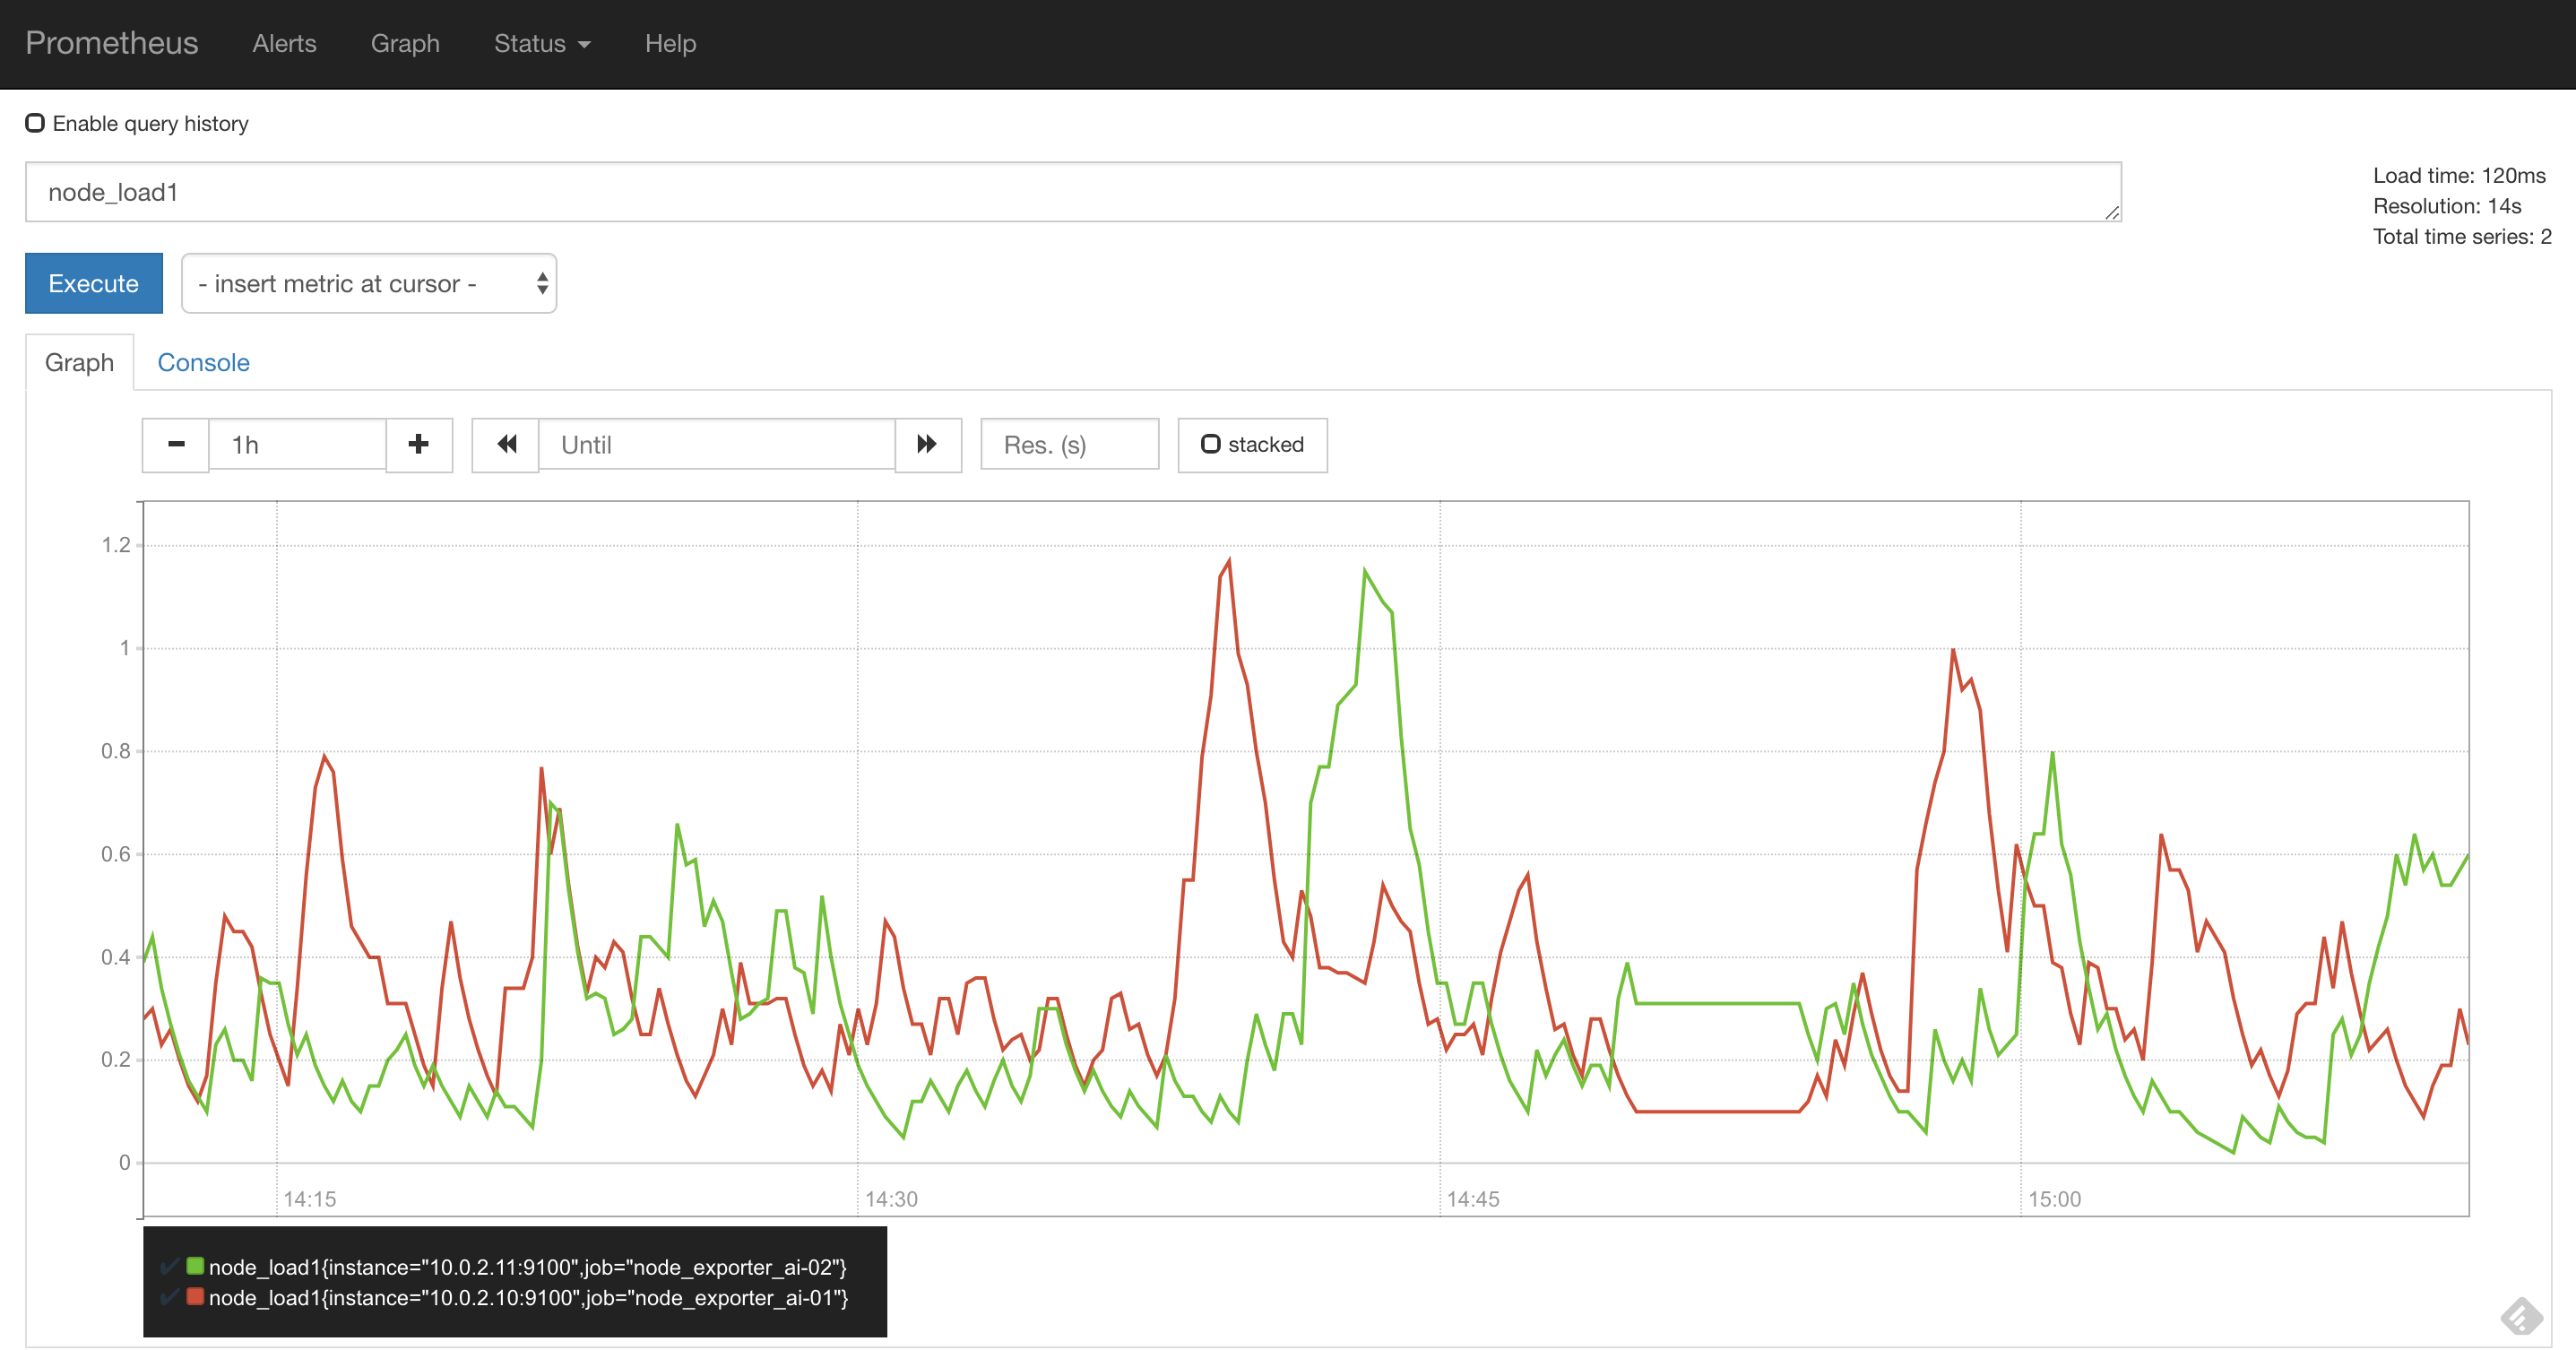
Graph —> 然後,可以在裡面試著輸入 metrics(例如:node_load1),查看data
